When your garage door malfunctions, the temptation to save money with a DIY repair can be strong. While some garage door maintenance and minor repairs are suitable for homeowners, others involve significant safety risks and require professional expertise. Here’s how to determine which approach is right for your situation.
Understanding the Risks
Garage doors are the largest and heaviest moving objects in most homes. They operate under high spring tension and involve electrical components. Improper repairs can result in:
- Serious injury from spring release, falling doors, or pinch points
- Property damage from unbalanced doors or broken cables
- Voided warranties on doors and openers
- Greater long-term costs from incorrect repairs
Safe DIY Garage Door Tasks
These routine maintenance and minor repair tasks are generally safe for homeowners with basic tools and mechanical aptitude:
Lubrication
What: Apply garage door lubricant to hinges, rollers, springs, bearing plates, and the opener chain or rail.
Why DIY-friendly: No disassembly required; minimal risk; prevents bigger problems.
Tools needed: Garage door lubricant spray (silicone or lithium-based), step ladder.
Frequency: Every 6 months or when you notice increased noise.
Tightening Loose Hardware
What: Use a socket wrench to snug up nuts and bolts on track brackets, hinges, and roller brackets.
Why DIY-friendly: Simple task; prevents rattling and wear; no spring tension involved.
Caution: Don’t over-tighten. Snug is sufficient. Do not touch cables or spring hardware.
Weatherstripping Replacement
What: Replace worn bottom seals, side seals, or top seals.
Why DIY-friendly: No tension, no heavy lifting; clear improvement in drafts and energy efficiency.
Tools needed: Tape measure, utility knife, new weatherstripping, optional adhesive.
Photo-Eye Sensor Cleaning and Alignment
What: Clean sensor lenses with a soft cloth; adjust brackets to realign sensors if the door won’t close.
Why DIY-friendly: Safe, straightforward electrical troubleshooting; quick fix for common issues.
How: Sensors should face each other with steady (not blinking) LED indicators. Minor bracket adjustment usually solves misalignment.
Remote Battery Replacement
What: Replace batteries in remote controls or wireless keypads.
Why DIY-friendly: Zero risk; solves the most common “opener won’t work” complaint.
Track Cleaning
What: Remove debris, dirt, and buildup from the inside of the tracks using a damp cloth.
Why DIY-friendly: Improves door movement; no disassembly or tools required.
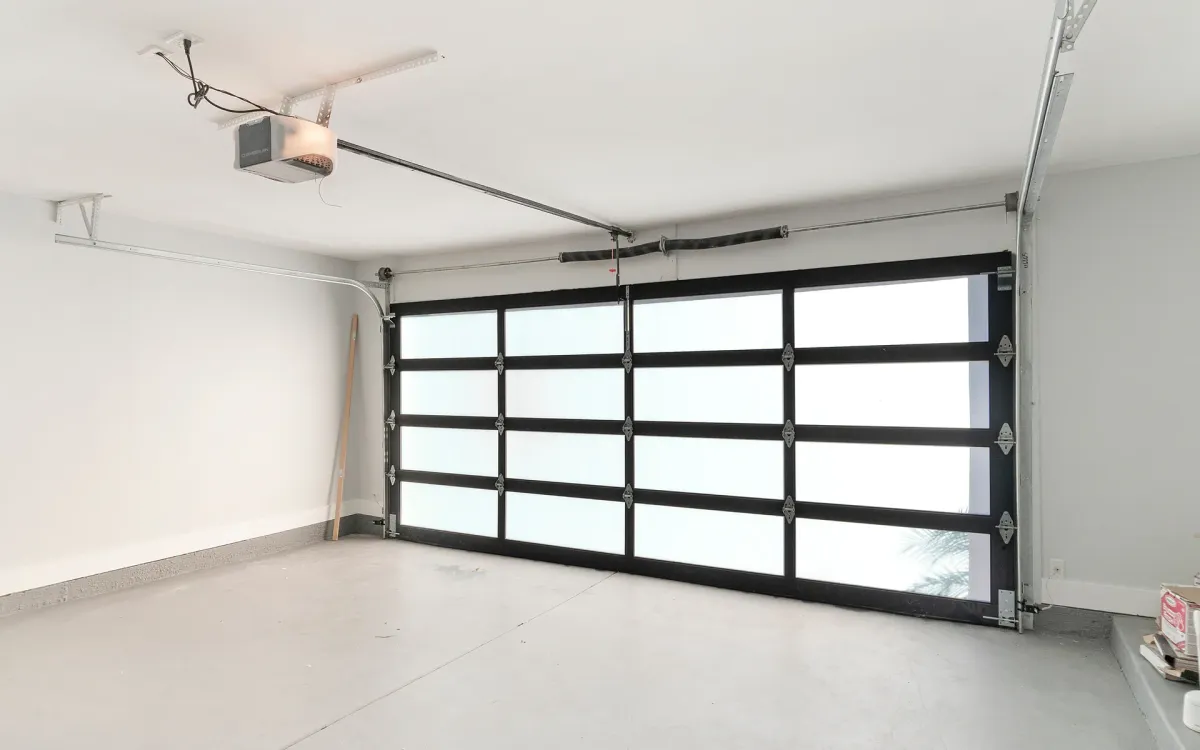
Visual Inspections
What: Monthly checks of springs for gaps or rust, cables for fraying, rollers for wear, and panels for damage.
Why DIY-friendly: Early detection of problems prevents emergencies; no repairs needed, just observation.
Repairs That Require Professional Service
These tasks involve high risk, specialized tools, or expertise that make them unsuitable for DIY:
Spring Replacement or Adjustment
Why professional-only: Torsion springs are under extreme tension. Improper handling can cause the spring to release violently, resulting in severe injury or death. Professionals have the correct winding bars, know the precise number of turns needed, and understand spring sizing.
Risk of DIY: Life-threatening injury; improperly sized or tensioned springs damage the door and opener.
Cable Replacement
Why professional-only: Cables are directly connected to springs under tension. Releasing or adjusting cables requires managing spring tension safely.
Risk of DIY: Severe hand and finger injuries; unbalanced door can fall.
Spring Adjustment or Door Rebalancing
Why professional-only: Adjusting spring tension requires winding or unwinding springs with proper tools. Even small adjustments involve significant force.
Risk of DIY: Injury; incorrect balance strains the opener and causes premature wear.
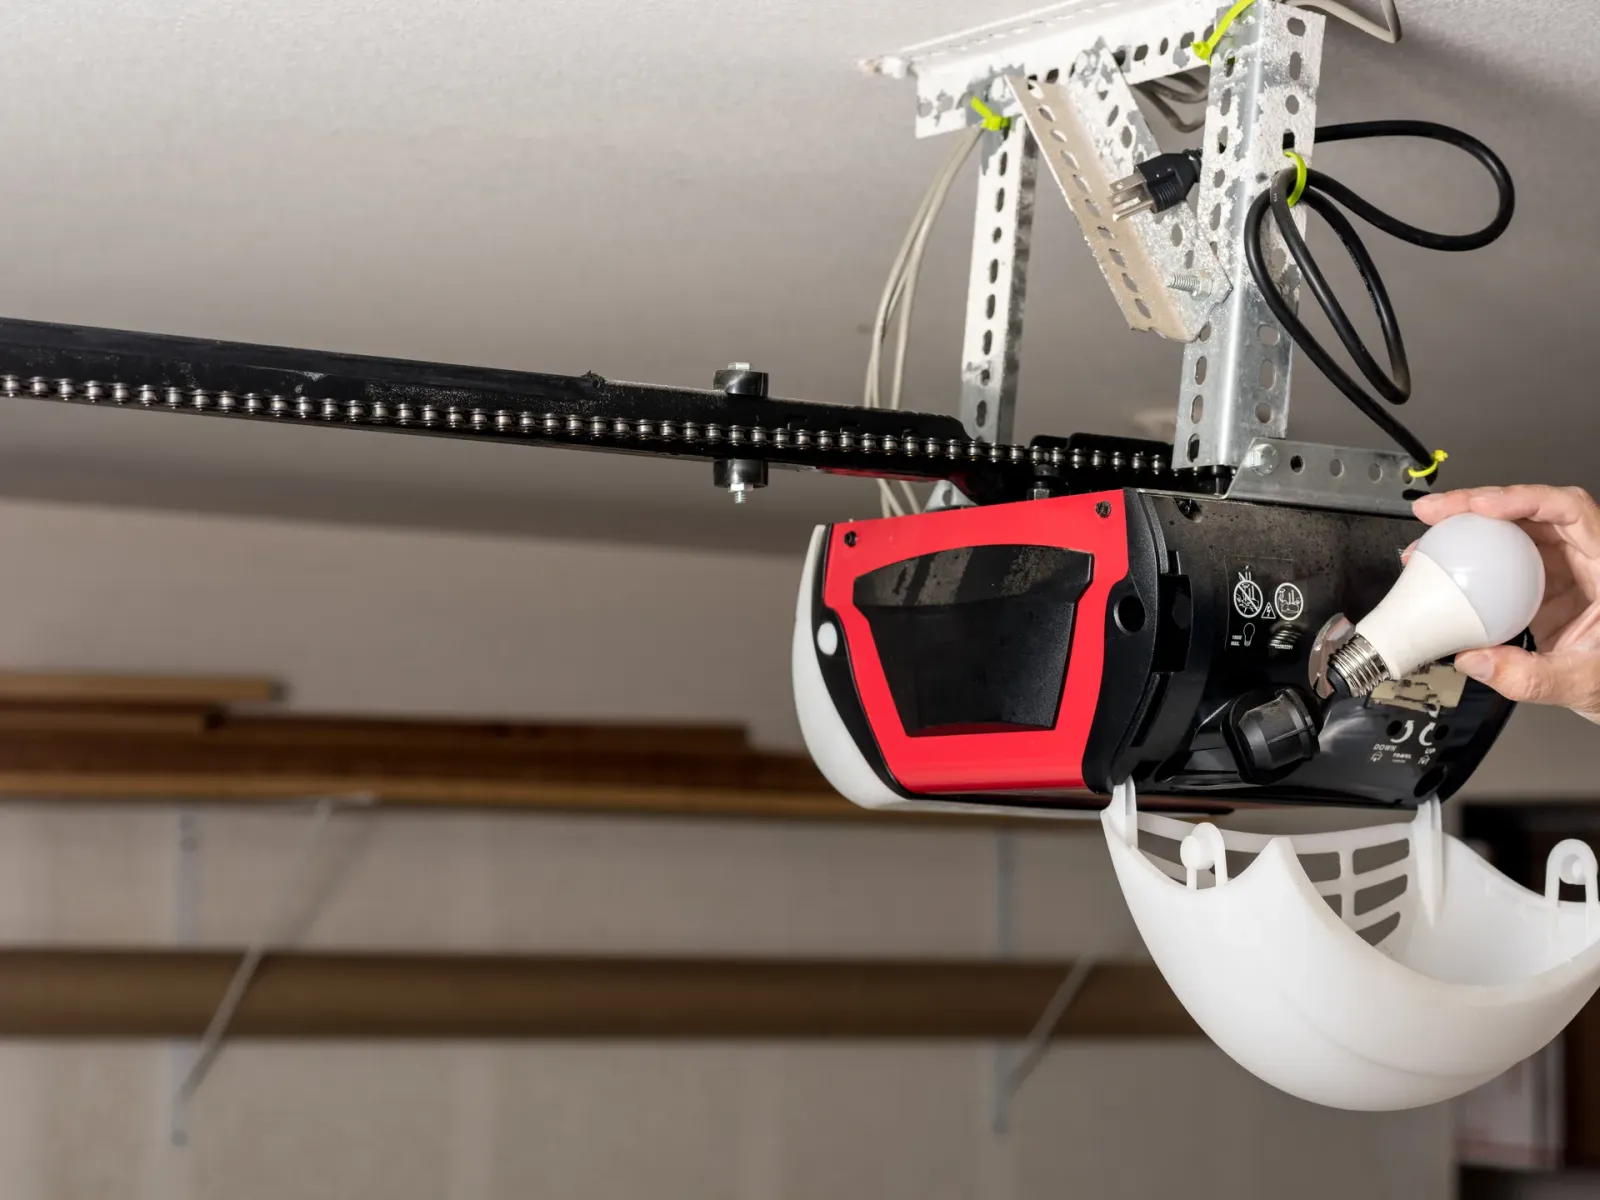
Opener Installation
Why professional-only: Requires electrical wiring, precise alignment of the trolley and chain/belt, proper force and limit adjustments, and safety feature calibration.
Risk of DIY: Electrical hazards; improperly configured safety features can cause injury; incorrect installation voids warranty.
Panel Replacement
Why professional-only: Panels must be removed and reinstalled without disturbing spring tension. Sections may need to be rebalanced after replacement.
Risk of DIY: Heavy lifting injury; improper installation causes binding or seal gaps.
Roller Replacement (with shaft removal)
Why professional-only: While replacing nylon rollers on the sides is manageable, rollers at the bottom corners are attached near the spring/cable anchor points and require managing tension.
When DIY is okay: Replacing side rollers (not bottom corners) if they simply slide out of brackets without disassembling spring hardware.
Track Replacement or Realignment (Major)
Why professional-only: Tracks must be precisely aligned and level. Major adjustments require understanding door balance and may involve partial disassembly.
Risk of DIY: Binding, derailing, or door falling; structural damage to framing.
Gray Area: When to Consider Professional Help
Some repairs fall between simple maintenance and high-risk work. Consider your skill level, tools, and comfort:
Opener Troubleshooting and Minor Adjustments
DIY if: You’re comfortable with basic electrical troubleshooting, can follow the manual for force and limit adjustments, and the issue is simple (sensors, remote programming, travel limits).
Professional if: The opener motor is failing, gears are stripped, circuit boards need replacement, or you’re unsure about electrical safety.
Lock Mechanism Repair
DIY if: The lock is sticking or needs lubrication; the handle is loose.
Professional if: The lock is damaged, misaligned, or requires internal opener mechanism access.
Cost and effort: keep it simple
Pricing varies widely by door size, parts, and what’s worn. The safer way to think about it is:
- DIY is best for low-risk maintenance (cleaning, lubrication, sensor alignment).
- Professional service is best for tension work and structural fixes (springs, cables, off-track, major track work).
Decision Framework
Use this decision tree:
-
Does it involve springs or cables?
→ Yes: Call a professional.
→ No: Continue. -
Does it involve electrical wiring or opener internals?
→ Yes: Professional unless you have electrical experience.
→ No: Continue. -
Does it require specialized tools (winding bars, specific torque wrenches)?
→ Yes: Professional.
→ No: Continue. -
Are you comfortable with basic home maintenance?
→ No: Professional for peace of mind.
→ Yes: DIY may be appropriate. -
Will this repair void a warranty?
→ Yes: Professional to maintain coverage.
→ No: DIY may be appropriate.
Benefits of Professional Service
Even when a repair might technically be DIY-able, professional service offers:
- Safety: Trained technicians with proper tools and safety equipment
- Warranty: Work and replacement parts may be covered depending on the job and parts used
- Speed: Repairs are typically completed much faster than a trial-and-error DIY approach
- Diagnosis: Technicians identify underlying issues you might miss
- Balance and adjustment: Professionals ensure the entire system works together properly
- Code compliance: Work meets local building codes and safety standards
When DIY Makes Sense
Choose DIY if:
- The task is routine maintenance (lubrication, cleaning, visual inspections)
- You have the right tools and clear instructions
- There’s no risk of injury
- The repair won’t void warranties
- You’re confident in your abilities
- The cost savings are significant relative to the effort
When to Call a Professional
Always call a professional if:
- Springs or cables are involved
- The door is off the tracks or binding severely
- You hear loud pops, bangs, or grinding
- The door falls rapidly when opening
- Electrical work is needed
- You’re unsure about any aspect of the repair
- The opener is straining, humming, or overheating
- You don’t have the proper tools
The Bottom Line
Routine maintenance like lubrication, cleaning, and visual inspections are excellent DIY tasks that extend your door’s lifespan and prevent costly repairs. However, spring work, cable replacement, and major adjustments should always be left to professionals due to serious safety risks.
Attempting high-risk repairs yourself can result in injury, greater damage, and ultimately higher costs.
Conclusion
Know your limits. If you’re handy and the task involves no springs, cables, or complex electrical work, DIY can be a good fit. For everything else, contact NK Garage Doors for safe service in Cleveland, Chattanooga, and surrounding Tennessee communities.
Helpful starting points: